How to Put a Metal Roof on a Camper | Complete Guide
Installing a metal roof on your camper is a transformative project that can significantly enhance its durability, energy efficiency, and overall appearance. This comprehensive article will walk you through the process, from preparation to final touches, ensuring you have all the information needed to tackle this rewarding DIY project. A metal roof not only provides superior protection against the elements but can also extend the life of your camper, making it a wise investment for any outdoor enthusiast.
What Do You Need to Do Before Putting a Metal Roof?
Before starting your metal roof installation, you need to get fully ready. Here’s how: choose materials, gather tools, measure accurately, and prep your camper’s existing roof. This groundwork ensures a smooth installation and a long-lasting, protective roof.
Choosing the Right Metal Roofing Material
Selecting the appropriate metal roofing material is a critical first step in your project. The right choice will depend on factors such as your budget, climate considerations, and weight restrictions. Let’s explore the options available and their characteristics.
Aluminum:
- Lightweight (about 1/3 the weight of steel)
- Naturally corrosion-resistant
- Excellent for coastal environments
- Typically more expensive
Steel:
- More durable and impact-resistant
- Less expensive than aluminum
- Requires proper coating to prevent rust
- Heavier, which may affect fuel efficiency
When choosing your material, also consider the gauge thickness. For campers, 29-gauge (0.013 inches) to 26-gauge (0.018 inches) is typically sufficient. The lower the gauge number, the thicker the metal.
Tools and Materials Needed
Proper preparation is key to a successful installation. Here’s a comprehensive list of tools and materials you’ll need –
Tools:
- Tape measure
- Chalk line
- Metal cutting shears or circular saw with metal-cutting blade
- Drill with appropriate bits
- Rivet gun
- Caulking gun
- Safety gear (gloves, safety glasses, sturdy shoes)
Materials:
- Metal roofing panels
- Screws or rivets (compatible with your chosen metal)
- Butyl tape or roofing sealant
- Foam closure strips
- Drip edge and ridge cap
- Paint (if desired)
Taking Measurements and Creating a Plan
Accurate measurements are crucial for a proper fit and to minimize waste. Follow these steps:
- Measure the length and width of your camper roof, including any overhangs.
- Account for roof curvature if present.
- Create a detailed roof layout, noting the location of vents, skylights, or other penetrations.
- Determine the optimal panel size and layout to minimize seams and waste.
- Calculate the amount of overhang desired (typically 1-2 inches).
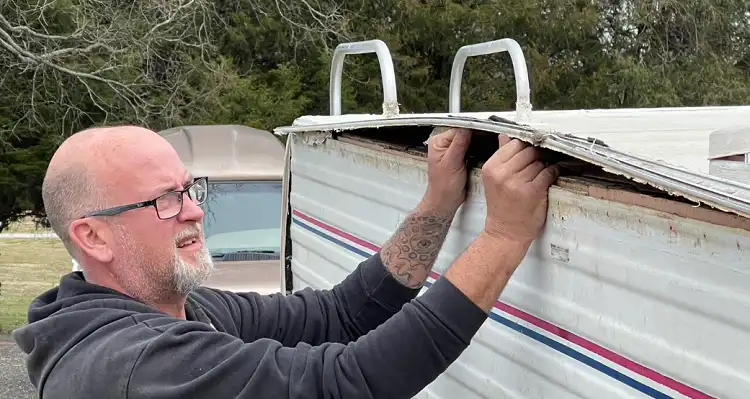
Removing the Old Roof
If you’re replacing an existing roof, start by removing all accessories, vents, and trim pieces. Carefully pry up and remove the old roofing material, taking care not to damage the underlying structure. Inspect the underlying structure for any damage or rot, and address any issues before proceeding. Dispose of the old materials properly, considering recycling options where available.
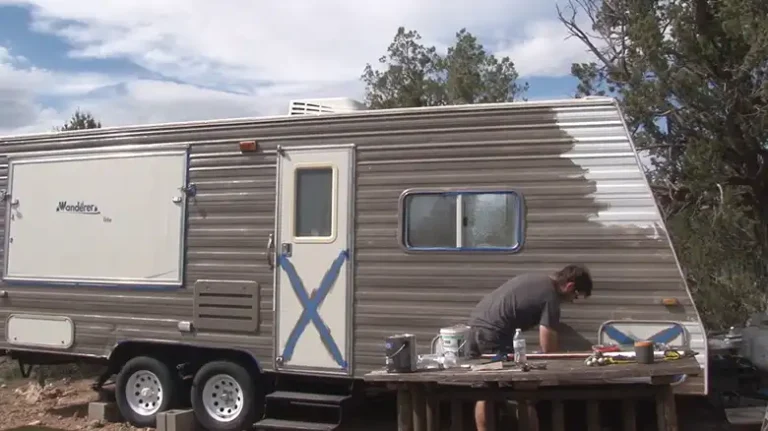
Inspecting the Roof Structure
Before installation, ensure your camper’s roof structure can support the new metal roof’s weight. Check for water damage, rot, or structural weaknesses, reinforcing framing if needed, especially when transitioning to heavier metal. Ensure the roof deck is smooth and free of protruding nails or screws; apply new plywood if necessary for a stable base.
How Do You Put a Metal Roof on a Camper?
With proper preparation complete, it’s time to begin the installation process. This section will guide you through the step-by-step procedure of installing your new metal roof.
Roof Panel Installation
The roof panel installation is the core of your metal roofing project. This process requires precision, patience, and attention to detail to ensure a secure and weatherproof result.
Step 1: Cutting Metal Sheets to Size
To begin the roof panel installation, precision in cutting is essential: Create paper or cardboard templates based on your measurements for complex cuts. Clearly mark cutting lines on the metal sheets. Utilize a circular saw with a metal-cutting blade or electric metal shears for straight cuts. For curved cuts or minor adjustments, employ manual tin snips, ensuring safety with gloves and eye protection due to sharp edges.

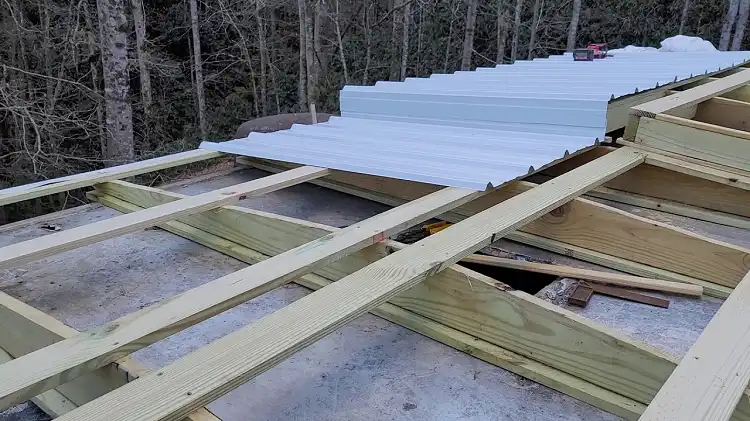
Step 2: Lifting and Positioning the Metal Sheets
Working with a partner for safety, carefully lift and position the metal sheets: Start from the bottom edge of the roof and progress upwards. Align the initial sheet meticulously as it sets the pattern for the entire roof. Temporarily secure the sheet with clamps while preparing for fastening.
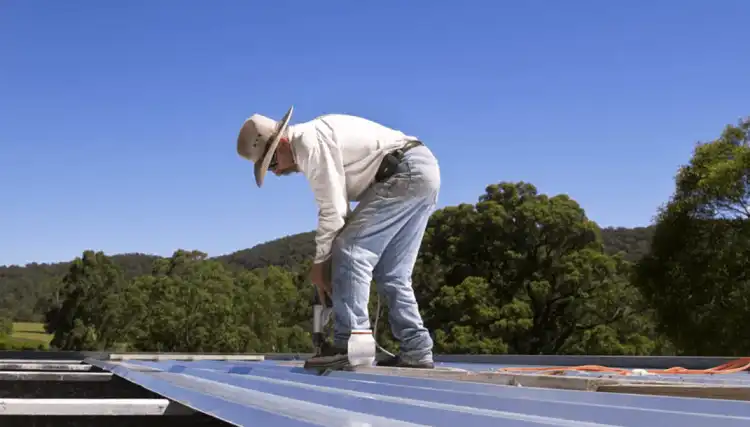
Step 3: Fastening the Metal Sheets
Secure the metal sheets to ensure durability and weatherproofing: Utilize screws or rivets specifically designed for metal roofing, spacing them every 12-18 inches along the edges and 24 inches in the field. Avoid over-tightening to prevent compromising the metal. Apply sealant to each screw head for added waterproofing.
Step 4: Overlap and Seam Techniques
Ensure proper overlap and sealing to enhance the roof’s integrity: Overlap panels at least 1 inch at the sides and 6 inches at the ends. Apply butyl tape or roofing sealant between overlapping panels. For standing seam designs, use a seaming tool to crimp the edges together effectively. Pay meticulous attention to sealing around any roof penetrations to prevent leaks.
Edge Finishing and Trimming
The final steps in your metal roof installation involve finishing the edges and ensuring all seams are properly sealed. This phase is crucial for achieving a polished look and maximizing the roof’s weather resistance.
Step 1: Trimming Excess Metal
After installation, achieve a neat appearance by trimming excess metal carefully: Use tin snips or electric shears to trim any overhanging metal, aiming for a consistent 1-2 inch overhang around the camper’s perimeter. File down sharp edges to prevent injury.
Step 2: Installing Drip Edges and Fascia Boards
Enhance the roof’s appearance and functionality with proper edge installation: Install drip edges along the roof’s perimeter, ensuring a 3-inch overlap at joints. Secure fascia boards to cover the roof edges for a finished look, using color-matched screws or rivets for seamless integration.
Step 3: Sealing All Edges and Penetrations
Complete the installation with thorough sealing to maximize weather resistance: Apply high-quality roof sealant along all edges, seams, and around penetrations. Use foam closure strips under the ridge cap and eaves to prevent water and insect intrusion. Double-check fasteners and add sealant as needed to ensure a watertight seal for your camper’s metal roof.
What Else to Consider While Putting a Metal Roof on Your Camper?
As you near the completion of your metal roof installation, there are several additional considerations to ensure the longevity and optimal performance of your new roof.
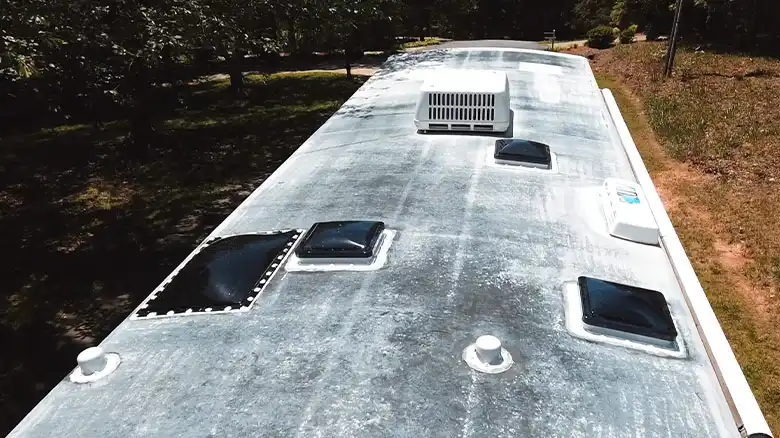
Installing Vents and Hatches
Proper ventilation ensures optimal camper conditions. Ensure existing vents or skylights are reinstalled securely for a watertight seal. Consider enhancing airflow with ridge vents. Use suitable flashing and sealant around all roof penetrations to prevent leaks and maintain interior comfort.
Adding Roof Sealant
Boost the durability and weather resistance of your metal roof. Apply a specialized metal roof coating or sealant across the entire surface. This coating provides UV protection and helps minimize heat absorption, extending the roof’s lifespan. Plan to reapply every 2-3 years to maintain peak protection and performance against the elements.
Grounding the Metal Roof
While detailed instructions are beyond the scope of this guide for safety reasons, it’s important to note that metal roofs should be properly grounded to protect against lightning strikes. Consult with a licensed electrician for proper grounding techniques specific to your camper.
End Note
Installing a metal roof on your camper is a challenging but rewarding project that can significantly enhance its durability and appearance. By following this comprehensive guide, you can tackle the installation process with confidence, ensuring a professional-quality result that will protect your camper for years to come. Remember to prioritize safety throughout the project and don’t hesitate to seek professional help for complex aspects of the installation.
Related FAQs
Can I install a metal roof over my existing camper roof?
While it’s possible, it’s generally not recommended. Installing directly over an old roof can trap moisture and lead to structural issues. It’s best to remove the old roofing material to inspect and prepare the underlying structure properly.
How much weight will a metal roof add to my camper?
The weight varies depending on the material and gauge. On average, an aluminum roof adds about 0.5-1 lb per square foot, while steel can add 1-3 lbs per square foot. Always ensure your camper’s structure can support the additional weight.
Will a metal roof make my camper too hot in the summer?
While metal roofs can absorb heat, proper installation techniques can mitigate this issue. Using a light-colored metal, adding insulation, and applying a reflective coating can significantly reduce heat absorption, potentially making your camper cooler than with traditional roofing materials.